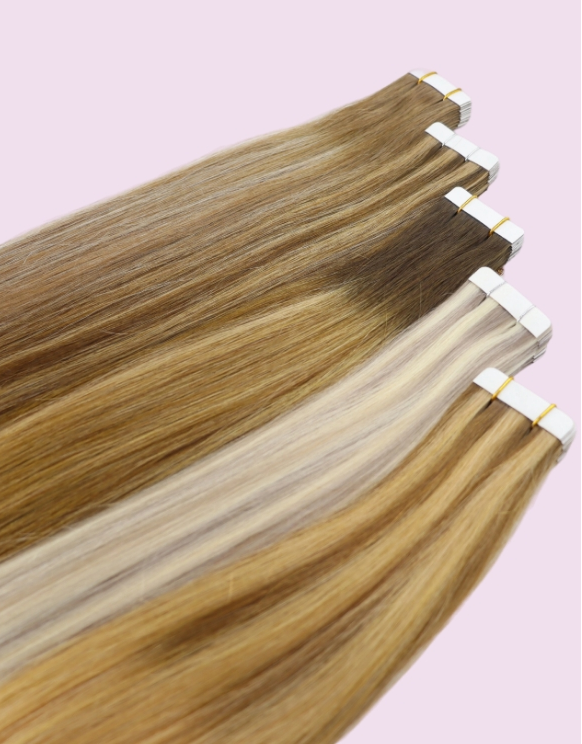
How to Install Tape in Hair Extensions
Getting gorgeous, voluminous hair has never been easier than learning how to Install tape in hair extensions. These semi-permanent extensions offer a quick way to add length and thickness to your natural hair without the commitment of permanent methods. With proper technique and the right tools, you can achieve salon-quality results from the comfort of your home.
What You Need to Install Tape In Hair Extensions

Step-by-Step Tape in Extensions installation
Step 1: Clean and Prep Your Hair for Tape-In Installation
1. Wash with Clarifying Shampoo Start by washing your hair with a clarifying shampoo to remove oil, dirt, and any product build-up. This ensures the tape bonds stick firmly to clean hair. Avoid any heavy products or leave-ins.
2. Skip Conditioner at the Roots Conditioner can interfere with the adhesive. If your ends are dry, you can apply a small amount to just the lower sections of your hair. Then blow-dry your hair fully—tape extensions won’t stick to damp strands.
Step 2: Section and Apply Tape In Hair Extensions Properly
1. Section the Hair Properly Begin about one inch above the nape of your neck and clip the top layers out of the way. Use a tail comb to make a clean horizontal part. Take a very thin slice of hair from the exposed section—it should be thin enough for the tape to hold securely.
2. Sandwich the Hair Between Tapes Place one tape tab under the sliced hair and then press a second weft directly on top, sandwiching your natural hair in between. Press firmly with your fingers to secure. For stronger hold, you can use a flat iron on low heat to seal the tapes.
Step 3: Layer and Balance Your Tape In Extensions
1. Release and Repeat Above Let down a new section of hair about half an inch above the last row. Continue the same process: part, slice, sandwich. Be sure to stagger the wefts from row to row so they blend more naturally.
2. Check for Symmetry Evenly distribute the extensions on both sides of your head. This ensures balance and a natural appearance. Avoid placing tape too close to the scalp—it should allow for free movement without pulling.
Step 4: Blend, Style, and Maintain After Installation
1. Blend with a Loop Brush After all the extensions are installed, gently brush through your hair using a loop brush or wide-tooth comb. This helps the extensions blend seamlessly with your natural hair.
2. Style with Care Style as desired, but always avoid direct heat on the tape bonds. You can curl or straighten the hair as long as the heat doesn’t touch the adhesive. Trim the ends if needed for a natural finish.
Aftercare Tips for Tape-In Hair Extensions
1.Immediate Post-Application Care (First 48-72 Hours)
What to Avoid Right After Installation
Activity Restrictions to Protect Tape-In Extensions
2.Troubleshooting Common Issues
How to Prevent Tangling with Tape-In Hair Extensions
What to Do If Tape-In Extensions Start Slipping
Dealing with Dryness and Damage in Tape-In Hair Extensions
Still have questions?
Please feel free to let us know.and we’ll respond within 24 hours.