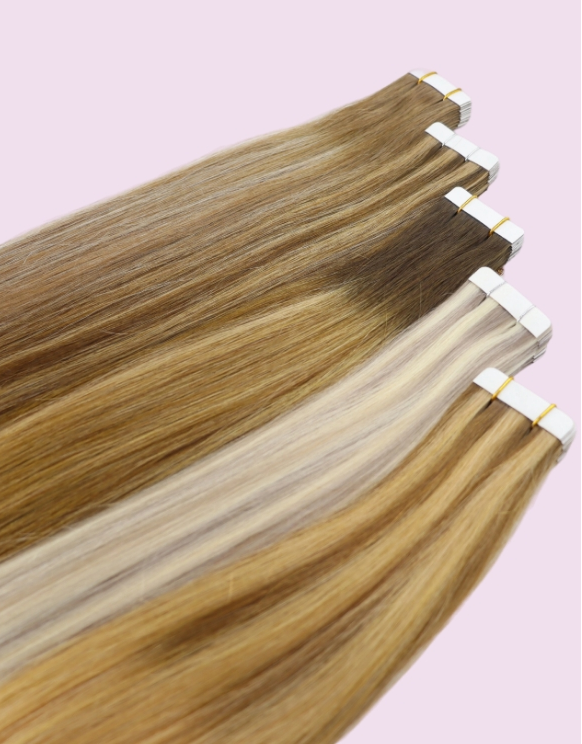
How to Apply Tape in Hair Extensions
Getting gorgeous, voluminous hair has never been easier than learning how to apply tape in hair extensions. These semi-permanent extensions offer a quick way to add length and thickness to your natural hair without the commitment of permanent methods. With proper technique and the right tools, you can achieve salon-quality results from the comfort of your home.
Tape in extensions application tools

How to Apply Tape in Hair Extensions?Step-by-Step
1.Starting Your First Row
Create your initial section approximately one inch above your hairline at the nape. Use clips to secure upper layers away from your working area. Make a straight horizontal part with your tail comb, then select a thin slice of natural hair – about the width of the extension weft.
2.The Sandwich Method
When you apply tape in hair extensions using this technique, place one weft underneath your selected hair section. Position the second weft directly above, creating a sandwich with your natural hair in the middle. Press firmly together, ensuring complete contact between the adhesive surfaces.
3.Building Additional Layers
Continue working upward, creating new sections every half-inch. Stagger each new row slightly to avoid obvious lines and create natural-looking volume. This systematic approach ensures even distribution and prevents gaps.
4.Maintaining Balance
As you apply tape in hair extensions throughout your head, check both sides regularly for symmetry. Uneven placement can create an unnatural appearance and may cause discomfort. Take your time with each section for the best results.
Blending and Finishing Touches
Seamless Integration
Once all extensions are secured, use a wide-tooth comb or loop brush to gently blend everything together. Start at the ends and work upward to avoid pulling on the tape bonds. This creates a smooth transition between your natural hair and the extensions.
Professional Styling
Style your new length as desired, but keep heat tools away from the tape areas. You can curl, straighten, or add waves to the hair itself while protecting the adhesive bonds from direct heat exposure.
After Attachment Care for Tape-In Hair Extensions
1.Immediate Post-Application Care (First 48-72 Hours)
Critical Waiting Period
- No washing for 48-72 hours after application to allow the adhesive to fully bond
- Avoid moisture including steam, excessive sweating, swimming, and humid environments
- No heat styling during this initial period
- Sleep with hair loosely braided or in a low ponytail to prevent tangling
- Avoid touching or manipulating the tape bonds excessively
Activity Restrictions
- Skip intense workouts that cause heavy sweating
- Avoid saunas, steam rooms, and hot yoga
- Stay away from swimming pools and ocean water
- Use dry shampoo if needed instead of washing
2.Troubleshooting Common Issues
Tangling Prevention
- Brush more frequently throughout the day
- Use detangling spray on damp (not wet) hair
- Sleep with hair properly secured
- Avoid windy conditions without hair protection
Bond Slippage
- Avoid oil-based products near the scalp
- Don’t over-wash or use hot water
- Have loose bonds professionally reattached immediately
- Check that you’re using extension-safe products
Dryness and Damage
- Use deep conditioning treatments on lengths and ends
- Incorporate leave-in treatments into your routine
- Reduce heat styling frequency
- Ensure you’re using quality, extension-formulated products
Still have questions?
Please feel free to let us know.and we’ll respond within 24 hours.