How to Sew In Hair Extensions
Achieving stunning, long-lasting hair transformations has never been more accessible. Many women are discovering that learning how to sew in hair extensions at home can save hundreds of dollars while delivering salon-quality results. This comprehensive guide walks you through every step of the process, from selecting materials to maintenance tips that keep your extensions looking fresh for weeks.
What Are Sew-In Hair Extensions?
Sew-in hair extensions are a semi-permanent hair enhancement method that involves attaching hair wefts to your natural hair using needle and thread. This technique creates a secure foundation by braiding your natural hair into cornrows, then stitching extension wefts directly onto these braids.
The popularity of sew-ins stems from their incredible durability and natural appearance. Unlike clip-in extensions that require daily removal, or glue-in methods that can damage hair, sew-ins offer a protective styling option that lasts 6-10 weeks. This method works particularly well for individuals with textured hair, as the braided base provides excellent grip and support.
This method provides a firm hold that can last for several weeks, making it ideal for anyone looking for a low-maintenance yet long-term solution.
Tools and Materials Needed for Installation
Essential Tools:
- Curved weaving needle – allows for smooth stitching through tight braids
- Strong polyester or cotton thread – choose a color matching your natural hair
- High-quality hair wefts – purchase from reputable suppliers for consistent color and construction
- Rat-tail comb – for precise sectioning
- Hair clips – for organization during installation
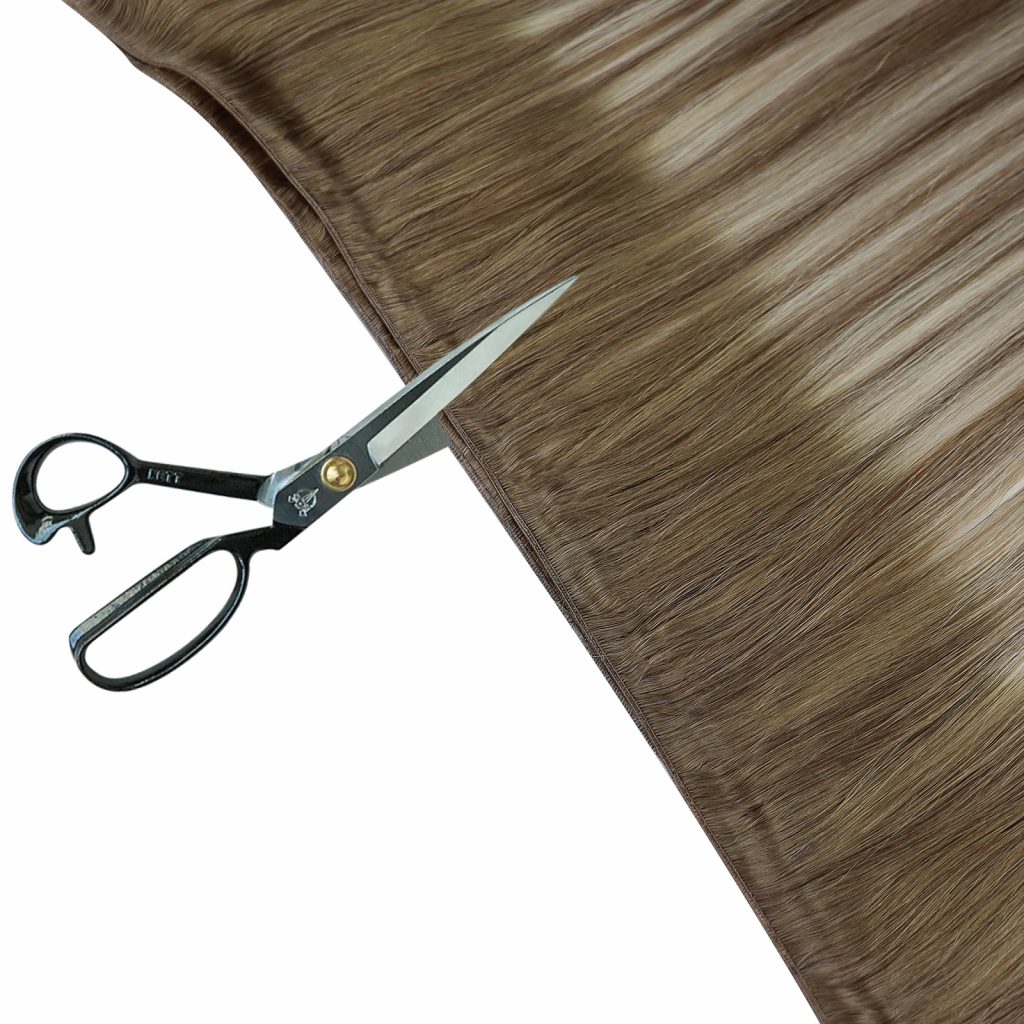
- Sharp scissors – for clean cuts
Additional Supplies:
- Spray bottle – keeps hair damp during braiding
- Leave-in conditioner – adds smoothness and manageability
- Handheld mirror – helps check your work from different angles
How to Sew In Hair Extensions Step by Step
1.Preparation Phase
Start with freshly washed and completely dry hair. Detangle thoroughly using a wide-tooth comb, working from ends to roots. Create your first horizontal part about two inches above your neckline, securing upper sections with clips.
2.Creating the Braided Foundation
Begin braiding your first cornrow using the three-strand technique, keeping braids tight and close to your scalp. Maintain consistent tension throughout each braid to prevent loose areas that could compromise extension security. Create parallel rows spaced approximately one inch apart, working systematically toward your crown.
3.The Sewing Process
Thread your curved needle with about 18 inches of thread, knotting one end securely. Position your first weft along the bottom cornrow, ensuring it lies flat against your scalp. Begin stitching through both the weft and braid, creating secure anchor points every half-inch.
When mastering how to sew in hair extensions, focus on maintaining consistent stitch tension. Too loose allows shifting, while too tight causes discomfort and potential hair breakage. Complete each weft with a double knot before moving to the next row.
Continue this process row by row, always working from bottom to top. This systematic approach ensures even coverage and prevents gaps that could reveal the installation. Leave your natural hairline unbraided for seamless blending and styling flexibility.
How to Take Care of Sew-In Hair Extensions
1.Nighttime Protection
Proper maintenance extends your extension lifespan significantly. Sleep protection is crucial – use a silk or satin pillowcase to reduce friction, or wrap hair in a silk scarf before bed. This prevents tangling and maintains the extensions’ smooth texture.
2.Weekly Washing Routine
Weekly washing maintains both scalp health and extension appearance. Focus shampoo application on your scalp using fingertips, avoiding rough scrubbing that might loosen stitches. Rinse thoroughly, ensuring no product buildup remains trapped beneath the wefts.
3.Conditioning Techniques
Conditioning should target the extension hair primarily. Apply conditioner from mid-length to ends, avoiding the sewn areas where products might soften thread and compromise security. Use cool water for final rinses to seal hair cuticles and enhance shine.
4.Daily Brushing Habits
Daily brushing prevents matting and maintains smoothness. Start detangling from the ends using a wide-tooth comb or paddle brush, working upward gradually. Never brush wet extensions aggressively, as this can cause breakage in both natural hair and wefts.
How to Remove Sew In Hair Extensions Safely
Safety First
Safe removal prevents damage that could set back months of hair growth. Never attempt to pull extensions out forcefully, as this can cause significant breakage or even bald spots.
Thread Cutting Process
Begin by cutting only the thread with small, sharp scissors. Work under good lighting, taking time to identify each stitch clearly. Snip threads individually while keeping scissors away from both your natural hair and the extension wefts, which can often be reused.
Weft Separation
Once all stitching is removed, gently separate wefts from cornrows using your fingers. Patience during this step prevents unnecessary hair loss. If tangles have formed, apply detangling spray and work through knots carefully.
Cornrow Unbraiding
Finally, unbraid each cornrow slowly, starting from the ends and working toward the roots. Your hair may feel fragile after being braided for weeks, so handle it gently. Follow removal with a deep conditioning treatment to restore moisture and strength.
Frequently Asked Questions
1.Can you reuse sew-in hair extensions after removing them?
Yes, high-quality human hair extensions can typically be reused 2-3 times with proper care. After removal, wash the wefts gently with sulfate-free shampoo, condition thoroughly, and allow them to air dry completely. Store extensions in a cool, dry place between uses to maintain their quality and longevity.
2.Can you wash your hair with sew-in extensions?
Absolutely! Regular washing is essential for maintaining scalp health and extension appearance. Wash weekly using sulfate-free products, focusing on cleansing your scalp rather than the extension hair itself. Gentle handling during washing prevents loosening of the carefully sewn attachments.
Understanding how to sew in hair extensions properly empowers you to achieve professional results while protecting your natural hair and maximizing your investment in quality extensions.
Still have questions?
Please feel free to let us know.and we’ll respond within 24 hours.