Install Clip-In Hair Extensions on Short Thin Hair
Key Differences Between Short Thin Hair and Long Thick Hair
The main challenge with clip in hair extensions on short thin hair lies in the limited natural coverage and reduced grip strength.
Short thin hair provides minimal camouflage for clips and less structural support compared to long thick hair, which naturally conceals attachment points and offers stronger anchoring.
Long thick hair creates a stable foundation where clips can bite securely into dense strands. The natural volume helps hide any visible hardware while the hair’s weight assists in keeping extensions in place. Short thin hair lacks these advantages, requiring modified installation approaches.
Aspect
Short Thin Hair
Long Thick Hair
Natural Coverage
Limited coverage, clips are harder to conceal.
Clips are naturally hidden due to more volume.
Grip Strength
Weaker grip due to fewer hair strands.
Stronger grip as hair density holds clips better.
Volume & Support
Needs extra volume and support for anchoring.
Natural volume helps hold extensions securely.
Installation Ease
Requires careful, modified techniques.
Easier to install, fewer adjustments needed.
Preparation Steps for Short Thin Hair
Shampoo and Add Texture:
Use a volumizing shampoo to build texture and give your hair the grip it needs for clip-in extensions.
Apply a light texturizing spray to damp hair for additional hold.
Create Volume at the Roots:
Blow-dry with a round brush to lift your hair at the roots. This adds volume, which is essential for securing the clips.
Sectioning:
Create horizontal partings every half inch starting from the nape of your neck. The smaller the sections, the more precisely you can install the extensions.
Step-by-Step Installation Process
Begin installation at the lowest point of your nape, about one inch above your hairline. For short thin hair, position the first extension piece as close to your scalp as comfortable, ensuring the clips face downward and slightly forward.
Open each clip fully and position it against your teased hair section. Press the clip down firmly, ensuring it bites into the hair close to the roots. The key difference from long thick hair is that you need to be more deliberate about clip placement since you have fewer hair strands to work with.
Move upward in your predetermined sections, installing each piece methodically. With short thin hair, you’ll typically use 4-6 pieces compared to the 8-10 pieces often needed for long thick hair. Each piece should overlap slightly with the one below it to create seamless blending.
Step
Short Thin Hair
Long Thick Hair
Starting Point
Begin at the lowest point of the nape.
Start at the nape and work upwards.
Clip Positioning
Ensure clips face downward and slightly forward.
Clip position is less critical due to natural volume.
Clip Placement
Position clips close to the roots for maximum grip.
Clips naturally grip dense hair.
Number of Pieces
Use 4-6 pieces for more controlled coverage.
Use 8-10 pieces for fuller coverage.
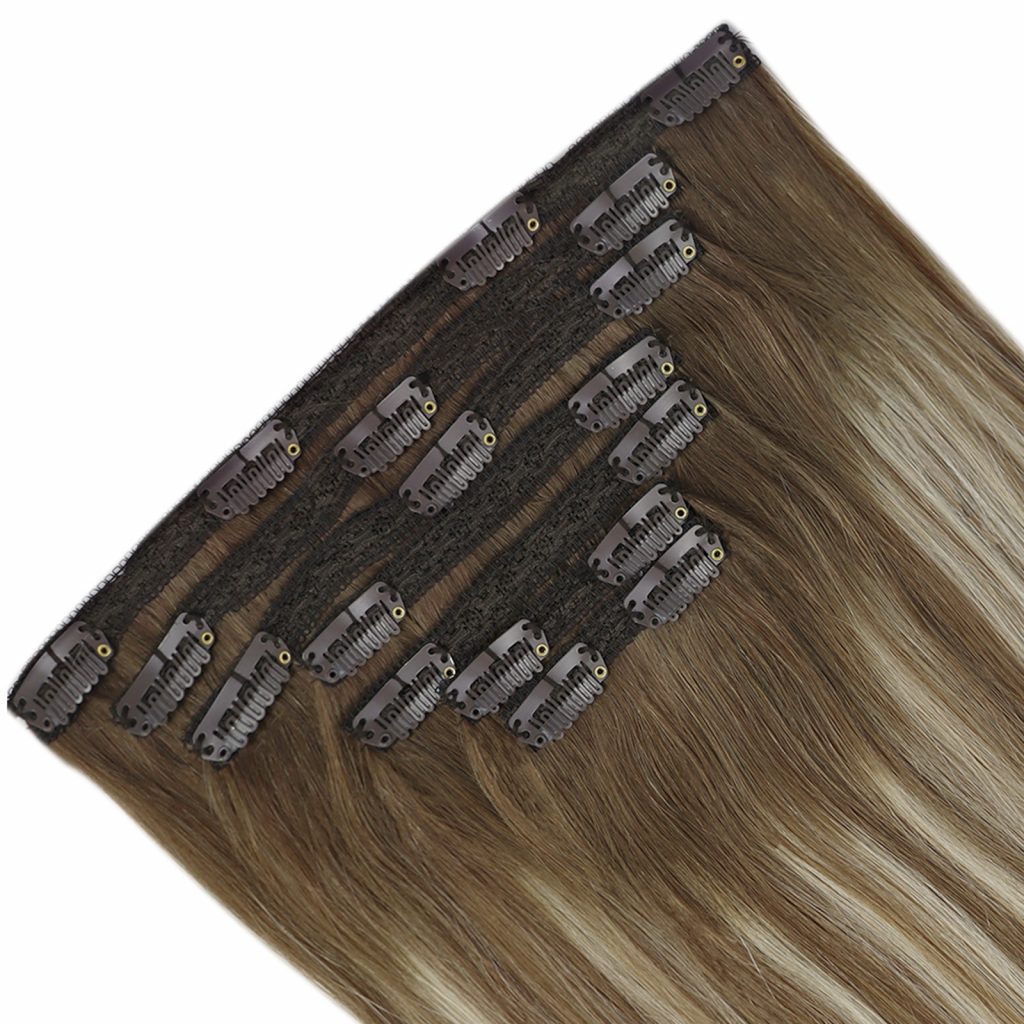
Clip Selection and Positioning
When selecting clips for installing clip-in hair extensions on short thin hair, the right type of clip is crucial for a secure fit.
Smaller Clips: Choose extensions with 3-4 smaller clips per piece. These are more suited for short, fine hair as they distribute weight evenly and prevent excessive pressure on fragile strands.
Clip Angle: Position the clips at a slight upward angle, which helps them grip finer hair more effectively and reduces slipping. For long thick hair, this angle is less crucial as the density of the hair helps hold the clips in place.
Feature
Short Thin Hair
Long Thick Hair
Clip Size
Prefer smaller clips (3-4 clips per piece).
Larger clips (1-2 clips) are sufficient.
Clip Angle
Position clips at an upward angle.
Clip angle is less critical.
Weight and Length Considerations
Select lightweight extensions specifically designed for fine hair, typically weighing 25-35 grams per piece maximum. Short thin hair cannot support the 50-80 gram pieces that work well with thick hair. Heavy extensions will slip, cause breakage, and look unnatural.
Choose extension lengths that add modest increase rather than dramatic transformation. Adding 4-6 inches works better than attempting 8-12 inch additions that would be possible with thick hair. Extreme length differences become obvious when you have limited natural hair for blending.
Aspect
Short Thin Hair
Long Thick Hair
Extension Weight
Use lightweight extensions (25-35g per piece).
Heavier extensions (50-80g per piece) work best.
Extension Length
Opt for modest increases (4-6 inches).
Longer extensions (8-12 inches) are ideal.
Blending Techniques for Natural Results
Finger Blending: Gently use your fingers to blend the extensions with your natural hair. This prevents the clips from shifting and gives a softer, more natural blend.
Color Matching: Because short thin hair offers less volume, precise color matching is critical. Make sure the extensions blend seamlessly with your natural color to avoid any visible color lines.
Color Matching and Visibility Management
Perfect color matching becomes critical when working with short thin hair because any mismatch shows clearly. Choose extensions that exactly match your base color and undertones. The limited natural hair volume means you cannot rely on hair movement to camouflage color variations like you can with thick hair.
Position extensions strategically to minimize visibility. Focus on areas where your natural hair provides the most coverage, typically avoiding the very front hairline and temple areas where short thin hair offers minimal concealment.
Feature
Short Thin Hair
Long Thick Hair
Color Matching
Exact match needed due to less natural volume.
Small variations are hidden by hair movement.
Strategic Placement
Position clips at coverage-prone areas, avoiding the front hairline.
Placement is less critical, clips are more easily hidden.
Securing and Final Adjustments
Test the Security: Shake your head gently to check if the clips feel secure. They should not pull or shift.
Make Final Adjustments: Ensure the clips are invisible by gently pulling your natural hair over the extensions. This will help them blend seamlessly with the rest of your hair.
Still have questions?
Please feel free to let us know.and we’ll respond within 24 hours.